Historic houses do not fight fair. They twist a bit with the seasons, carry scars from a century of storms, and hide surprises beneath every board. When you set a new shingle roof on a structure that predates the interstate, success depends on patience and judgment more than speed. I have pulled cedar shakes off Victorian foursquares where the rafters were hewn with an adze, then rebuilt the deck with modern sheathing without flattening the architecture’s character. I have also seen well-meaning roofers nail a sparkling asphalt system over a soft, ventless attic, only to watch paint blister inside six months. The stakes with older homes are higher because every layer interacts with original materials. Done right, roof shingle installation can protect the building while preserving the features that give it a soul.
Start with forensics, not fasteners
Before any talk of shingles, you need to understand the building’s bones. A pre-war bungalow or an 1890s farmhouse may have uneven rafter spacing, undersized overhangs, and plank decking with quarter-inch gaps. Nail patterns from prior roofs tell a story about wind exposure and leak history. If the attic is accessible, I look for daylight around chimneys, black tracks along nail tips from condensation, brittle knob-and-tube stubs, and the telltale coffee stain that marks an old ice-dam leak.
A moisture meter is worth its weight on these projects. Pine deck boards can read as dry on the surface and still carry a damp core, especially over bath vents that discharge into the attic. If the deck is spongy underfoot or nails refuse to bite, you are not ready for shingles. On toenailed rafters that have drifted out of plane, I check for rafter spread and ridge sag. If the roofline waves by more than half an inch over four feet, consider strategic sistering or shimming before laying a straight, modern system that will only exaggerate the dips.
Document everything with photos. Older homes often qualify for tax credits or preservation grants if you retain certain features like exposed rafter tails or ornamental ridge caps. Those images will help negotiate scope with a preservation officer or insurer, and they spare you disputes later.
Matching material to architecture and climate
Historic homes originally wore wood shakes, slate, clay, or even metal. Asphalt came later, and it can work beautifully if selected with an eye for texture and proportion. The goal is not to fake history, but to maintain harmony.
Thicker architectural asphalt shingles mimic shadow lines without shouting. Three-tab shingles can look anemic on a steep Queen Anne roof, yet they suit a mid-century ranch. Synthetic slate or polymer shake has improved in color stability and impact resistance, though the weight and thickness still demand good planning around flashings and valleys. True slate is unmatched for longevity, but it is heavy and expensive, and it demands trained hands. For a farmhouse that previously carried cedar, I have used Class 4 impact-rated asphalt in a warm, variegated tone to echo the irregularity of wood, paired with copper flashings that will quietly patina. That combination satisfies curb appeal, budget, and service life.
Climate narrows the choices. Coastal houses need shingles rated for high wind uplift; look for enhanced nailing zones and reinforced sealant strips, and then back that up with six nails per shingle on steep slopes. In snow country, granule durability and an ice-barrier strategy matter more than brochure thickness. In the Southeast, algae-resistant formulations pay for themselves by keeping a light-colored roof from streaking.
When a local ordinance or a historic commission requires a particular look, bring samples to the site in full sun. A charcoal https://maps.app.goo.gl/LufjBcSTLAKTs1mg8 shingle that seems subtle in a showroom can turn harsh on a painted Italianate with ornate brackets. Conversely, a warm gray with slight variation can sit quietly under gingerbread.
Decking: keep what is sound, replace what is not
Most older roofs sit on board decking. I love it when I find full-inch pine planks with heartwood stripes, still tight a hundred years later. Those boards, gaps and all, can support shingle roofing if you plan accordingly. Gaps wider than a pencil will telegraph under thin shingles, and they allow wind-driven rain to reach the underlayment. Rather than stripping every board, I weave in 3/8 to 1/2 inch plywood or OSB over the old planks, either as full overlay or as stitching panels across the widest gaps and at eaves and valleys. A full overlay stiffens the roof and gives you an even surface for modern fasteners, but mind your transitions at dormers and the change in height at gable trim.
Expect to replace the first two feet of decking above the eaves where ice dams take their toll. Look hard at the sides of chimneys and under dead valleys. Probe with an awl. If you can sink the point with modest pressure, take that board out. On balloon-framed houses, be careful near the outer walls where you might be above an open chase; cover openings to keep debris out of the wall cavities. When you cut boards, stagger the seams and land them on firm rafters. Nails should be long enough to penetrate an inch into solid wood, and err on ring shanks for grip in dry boards.
Ventilation and the puzzle of old attics
Modern shingle warranties assume balanced intake and exhaust ventilation. Historic roofs rarely have it. You cannot slap in ridge vents without considering the entire airflow path or the effect on heating, cooling, and ice damming.
I start with the attic. If the house has original tongue-and-groove plank soffits, they are often painted shut. You can introduce intake by drilling from below into the soffit bays, then installing discrete aluminum or copper soffit vents sized for the net free area you need. If the soffits are boxed, sometimes the bays are blocked by a frieze board or top plate. In that case, consider a smart vent detail cut into the sheathing just above the gutter line on the roof plane, paired with a protection screen to keep bees out. For exhaust, a low-profile ridge vent across a continuous slot works well on simple ridges. On hips and short ridges, you may need a pair of high-mounted roof vents painted to blend with the shingles.
Not every old house can or should be ventilated in the modern sense. If the attic is part of the conditioned envelope or the rafters are packed with dense insulation and air sealed, a hot roof strategy can be appropriate, but you must coordinate with an insulation contractor who understands vapor control. On plank decks, I often choose a high-perm synthetic underlayment so the assembly can dry upward between storms. Balance is the rule: intake area should roughly match exhaust area. Good airflow protects shingles from cooking, prevents frost on nails in winter, and reduces ice-dam risk. Ignore it and you invite shingle curling, granule loss, and moldy roof boards even if your roof shingle installation is otherwise textbook.
Underlayment and ice protection for period details
Underlayment is the unsung hero on older homes. On plank decks, asphalt felt can wrinkle and telegraph through thin shingles, especially as the wood swells and shrinks. A high-quality synthetic underlayment lays flatter, resists tearing under foot, and keeps nails where you put them. I overlap horizontals generously and use cap nails, not staples. Around chimneys, in valleys, and at sidewall flashings, I upgrade to a self-adhered ice and water membrane. In snow climates, that membrane should run from the eaves to at least 24 inches inside the warm wall line. On deep overhangs, that can mean 6 to 9 feet of coverage.
Valleys get special treatment on older roofs because angles can be quirky. I prefer open metal valleys with ribbed centerlines on houses that see heavy leaves or snow. Copper ages gracefully and tolerates thermal movement, but painted steel or aluminum can be appropriate if the budget is tight. If the home has closed-cut valleys that shape its look, I still run membrane full length under the shingles and ensure the shingle courses are straight so the cut line does not wander across the roof face.
Flashings: small metal, big consequences
I cannot overstate this: save the roof by respecting the flashings. Historic homes often have multiple penetrations, sleeping porches converted to baths, and chimneys that move a bit with freeze-thaw cycles. Every one of those spots needs a flashing solution that suits the material and the movement.
Brick chimneys deserve step flashing woven with the shingles, then a counterflashing reglet cut into the mortar joint. Surface mastic against brick will fail. On soft lime mortar, I cut shallow, set the counterflashing with lead wedges, and seal with a compatible masonry sealant that allows breathability. For stone chimneys with irregular faces, formed lead or copper is your friend, backed with a flexible membrane for redundancy.
Sidewall and headwall transitions demand Z-flashings behind siding. On wood clapboard or cedar shingles, I lift courses gently, insert new metal, then blind-nail to avoid ugly face nails. If the house has original aluminum siding, take care not to kink the pieces as you tuck flashing behind. Skylights on older homes are often a liability; when possible, replace them with new units that include full flashing kits rather than improvising around deteriorated flanges.
Plumbing vents benefit from lead boots that can be dressed to the shingle profile. Silicone or neoprene collars crack in UV over time; on historic jobs, I prefer lead with a small storm collar of flexible gasket material tucked under the shingle above for belt and suspenders. Where two roofs meet at different heights, a cricket is not optional. Build it, flash it, and make it shed water.
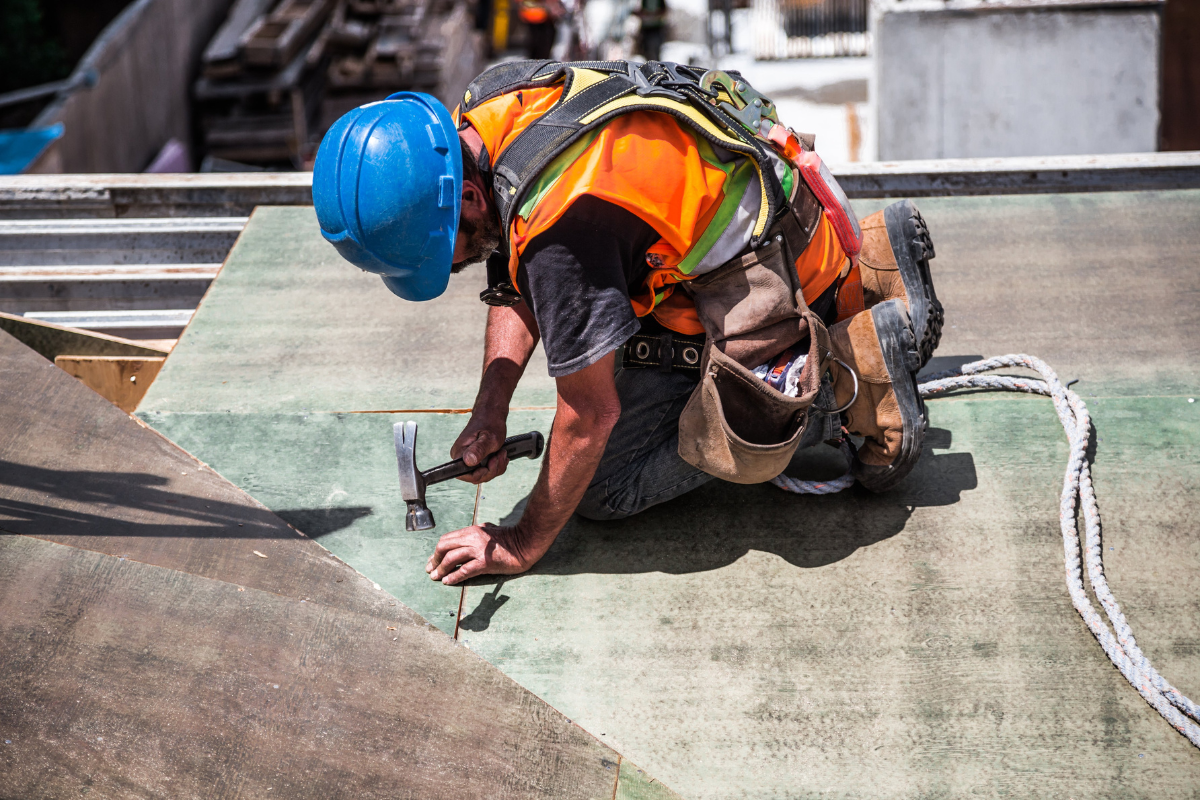
Fasteners, patterns, and staying on plane
Shingle roofing is forgiving in theory, but old decks test your nail placement. Nails must penetrate solid wood, sit flush but not cut the mat, and align within the shingle’s nailing zone. On warped boards, a nail can drift into a gap and do nothing. I adjust my pattern to catch meat, and if a run crosses too many voids, I install a strip of plywood beneath that course. On wind-rated installations, I use six nails per shingle and add dabs of approved sealant on steep pitches or in high-exposure zones like rakes that face prevailing storms.
Staying straight on a wavy roof is a matter of choosing what the eye sees. I snap my first line parallel to the eaves if the eave is visually dominant from the street, then cheat gradually to hide deck irregularities. On houses with strong rake lines, I align to the rake. Nothing makes a historic home look sloppy like a shingle course that climbs toward a dormer or dips before a chimney saddle. Slow down, stand back, and look. Nine times out of ten the fix is a 1/8 inch adjustment over a half dozen courses.
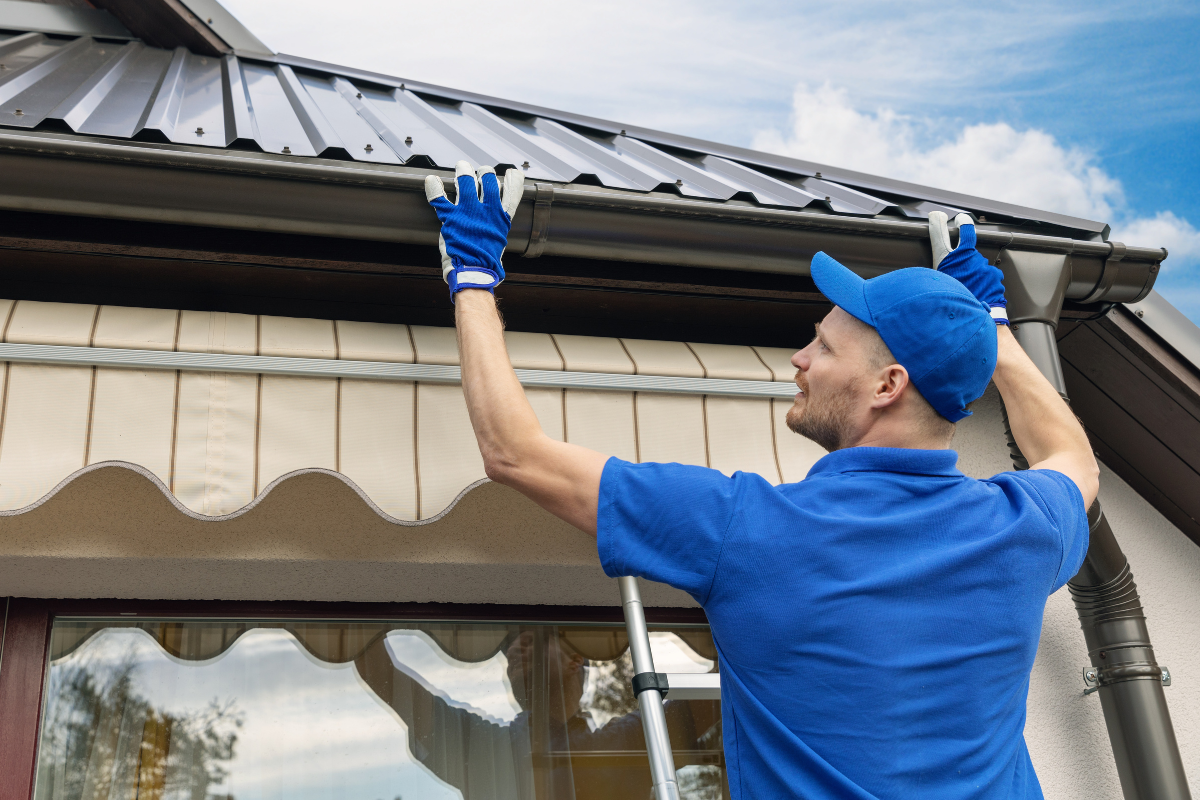
Gutter interfaces, drip edge, and eave details
Older houses often lack drip edge, which invites capillary backup and rot at the eaves. I install a hemmed metal drip edge that extends into the gutter trough and covers the board edge. Where the fascia has crown molding, I custom bend a profile that slides over the molding without crushing it. If the soffit is decorative, coordinate with the homeowner and preservation guidelines to keep the profile consistent.
Ice dams are notorious on uninsulated attics. A well-positioned ice and water membrane under the shingles is critical, but I also look at the gutter hangers and slope. Hidden hangers with screws set every two feet keep gutters from pulling out under ice load. Where feasible, I suggest widening the downspouts to shed water faster. A roof is part of a water management system, not an isolated lid.
When to repair, when to replace, and how to phase
Roof shingle repair on a historic house is sometimes the smartest path. If the shingles are still pliable and the granule loss is modest, spot repairs around penetrations and the sunny south face can buy five to seven more years. I have replaced forty square feet around a chimney with new architectural shingles that blend after a season of weathering, then revisited the roof later for full replacement. That approach can spread cost across budget cycles and line up with other exterior work.
Roof shingle replacement is unavoidable when the field shingles lose adhesion, curl, or shed granules into the gutters like sand. If the deck is sound and the roof carries only one layer, a tear-off and full system install, including underlayment, ice barrier, and flashings, will reset the clock. Do not lay a second layer over old shingles on a historic home. You will mask problems, add weight to old rafters, and complicate ventilation at the eaves where shingle thickness grows.
Phasing matters on complex houses. Replace the worst slope first if budget is tight, but always integrate flashings so you are not relying on tar at the seams between old and new. Keep meticulous notes on shingle type, color, and batch codes. Even within a brand, color runs vary. A shingle roofing contractor who orders all phases from the same plant reduces mismatch risk.
Working with preservation boards and insurance
Historic districts and insurers care about different things. Preservation boards focus on visible materials, profiles, and color fidelity. Insurers care about wind ratings, impact resistance, and water mitigation. You can satisfy both if you prepare.
Bring product literature that documents the wind and impact ratings of your chosen shingle. Show color boards in natural light. If the home originally carried wood, propose an architectural shingle with a broken bond pattern and a soft edge, or a modern cedar with fire-retardant treatment if local code allows. For metal flashings, copper satisfies both camps when budget permits. When a board insists on slate, discuss synthetic slate options with tested lifespans and weight calculations that suit the existing structure. Keep the conversation transparent about trade-offs. A honest summary of cost, maintenance, and expected service life tends to win trust.
Insurance adjusters look for like-kind replacement unless a local ordinance requires something else. If hail took out a brittle, obsolete shingle, leverage that to replace the entire slope rather than patches that will never seal to adjacent shingles. Photographs from the initial forensics help.
The human side: scheduling, protection, and neighbors
Older homes sit close to sidewalks, gardens, and sometimes irreplaceable plantings. I walk the property with the owner and set expectations. Rose bushes get plywood shields with padding, attic contents under plaster ceilings get dust covers, and gutters are cleaned at the end of each day. Nail magnets follow every dump run. If the home has original plaster, I avoid heavy foot traffic on roof regions above delicate ceilings during temperature swings when plaster is most brittle. Crew size is managed to minimize vibration.
Noise and debris are unavoidable. Introduce yourself to neighbors, post a schedule, and stick to it. Cover porches with felt and plywood to avoid tar scuffs. Rain happens; have a daily plan to button up quickly. Historic homes demand respect not only for materials, but for the people and stories inside them.
Hiring the right shingle roofing contractor
A contractor’s portfolio should include work on homes at least as old as yours. Ask to see at least two projects in person. Talk about how they will handle stepped flashings at masonry, whether they plan to reuse or replace existing metal, and what underlayment they recommend for plank decking. Listen for specifics about ventilation strategy, ice-dam mitigation, and fastener types. A good shingle roofing contractor will be candid about unknowns, such as hidden rot, and will provide unit costs for deck replacement to avoid renegotiation midstream.
Here is a short, practical checklist to guide your selection and planning:
- Request a scope that includes tear-off, deck assessment, specific underlayment types, and all new flashings. Vague proposals lead to corner-cutting. Confirm ventilation calculations and details for intake and exhaust. Ask how they will create intake if your soffits are solid. Verify the shingle’s wind rating, algae resistance, and warranty terms in writing, including required nail counts and accessory products. Discuss material samples on site in daylight, and decide on drip edge and valley style that fits the architecture. Set expectations for protection of landscaping, daily cleanup, and communication when hidden damage is found.
Common pitfalls and how to avoid them
The most common failure I see on historic homes is inadequate ventilation, followed closely by lazy flashing work. Both show up as roof leaks blamed on shingles that were never at fault. Another frequent mistake is skipping ice barrier up the eaves or stopping it short of the warm wall line. That choice saves a few rolls of membrane in the moment and costs ceiling repairs later.
Do not let anyone talk you into face nailing exposed shingle courses at rakes to flatten a wave. Those nails will rust, leak, and draw the eye. Solve the wave by addressing the deck, shimming, or adjusting coursing. Likewise, resist the temptation to smear sealant where metal should be. Sealants age fast under UV and heat, and they turn a clean repair into a recurring maintenance problem.
Color mismatch between slopes happens when crews pull from different bundles without mixing. On variegated shingles, I open three to four bundles and blend courses so the roof reads as a single field. Simple discipline, big visual payoff.
Cost, lifespan, and the quiet math of value
Costs swing widely based on access, material, and scope. On a two-story with easy staging, architectural asphalt typically runs lower per square than synthetic slate, and a fraction of true slate or cedar. Add 10 to 20 percent for historic work because of extra flashing, carpentry, and protection steps. That premium often buys decades of stability, fewer emergency calls, and better insurance outcomes after storms.
Service life depends on climate and care. A well-installed architectural asphalt shingle on a ventilated, repaired deck in a temperate zone can last 22 to 28 years. In harsh sun or with complex roofs that trap snow, expect 18 to 22. Class 4 impact-rated shingles can reduce hail claims and sometimes lower premiums. If you intend to sell within a few years, a clean, well-detailed roof reassures buyers and appraisers. If you intend to stay, the comfort of a tight, dry shell is worth more than any spreadsheet suggests.
A word on maintenance and graceful aging
Roofs on older homes need light, regular attention. After the first big storm, walk the perimeter and check valleys, rake edges, and around chimneys for lifted tabs or displaced ridge caps. Clean gutters spring and fall. Trim overhanging limbs that scrape granules off shingles. From the attic, look for nail tip frost in winter and for darkened decking after heavy rain. Catching small issues protects the investment in your roof shingle installation and keeps the rest of the structure healthy.
When repairs are needed, match the shingle style and course lines carefully. Shingle roof repair on a historic house is an exercise in restraint. Pull only what you must, replace flashings in full segments, and use a flat bar like a scalpel, not a crowbar. Document the repair for your records and for any future owner who wonders how the roof was cared for.
Bringing it all together
Installing a shingle roof on a historic house is a craft exercise dressed as a construction project. You reconcile old and new at every turn: plank decks with modern underlayments, ornate cornices with practical drip edges, ridge lines that wander with courses that must hold straight. The best results come from a mindset that favors preparation, precise metalwork, and ventilation tailored to the building. Whether you choose roof shingle repair to extend life or commit to full roof shingle replacement, the guiding principle is simple: make water move away from the house the moment it lands, and give the structure a chance to dry when it does not.
Homes that have seen a hundred winters deserve that care. When the first rain hits a new roof and you watch clean, even sheets of water pour into well-set gutters while the attic stays cool and dry, you feel it. The building exhales. And that is the surest sign the work respects both the craft and the history.
Express Roofing Supply
Address: 1790 SW 30th Ave, Hallandale Beach, FL 33009
Phone: (954) 477-7703
Website: https://www.expressroofsupply.com/
FAQ About Roof Repair
How much should it cost to repair a roof? Minor repairs (sealant, a few shingles, small flashing fixes) typically run $150–$600, moderate repairs (leaks, larger flashing/vent issues) are often $400–$1,500, and extensive repairs (structural or widespread damage) can be $1,500–$5,000+; actual pricing varies by material, roof pitch, access, and local labor rates.
How much does it roughly cost to fix a roof? As a rough rule of thumb, plan around $3–$12 per square foot for common repairs, with asphalt generally at the lower end and tile/metal at the higher end; expect trip minimums and emergency fees to increase the total.
What is the most common roof repair? Replacing damaged or missing shingles/tiles and fixing flashing around chimneys, skylights, and vents are the most common repairs, since these areas are frequent sources of leaks.
Can you repair a roof without replacing it? Yes—if the damage is localized and the underlying decking and structure are sound, targeted repairs (patching, flashing replacement, shingle swaps) can restore performance without a full replacement.
Can you repair just a section of a roof? Yes—partial repairs or “sectional” reroofs are common for isolated damage; ensure materials match (age, color, profile) and that transitions are properly flashed to avoid future leaks.
Can a handyman do roof repairs? A handyman can handle small, simple fixes, but for leak diagnosis, flashing work, structural issues, or warranty-covered roofs, it’s safer to hire a licensed roofing contractor for proper materials, safety, and documentation.
Does homeowners insurance cover roof repair? Usually only for sudden, accidental damage (e.g., wind, hail, falling tree limbs) and not for wear-and-tear or neglect; coverage specifics, deductibles, and documentation requirements vary by policy—check your insurer before starting work.
What is the best time of year for roof repair? Dry, mild weather is ideal—often late spring through early fall; in warmer climates, schedule repairs for the dry season and avoid periods with heavy rain, high winds, or freezing temperatures for best adhesion and safety.